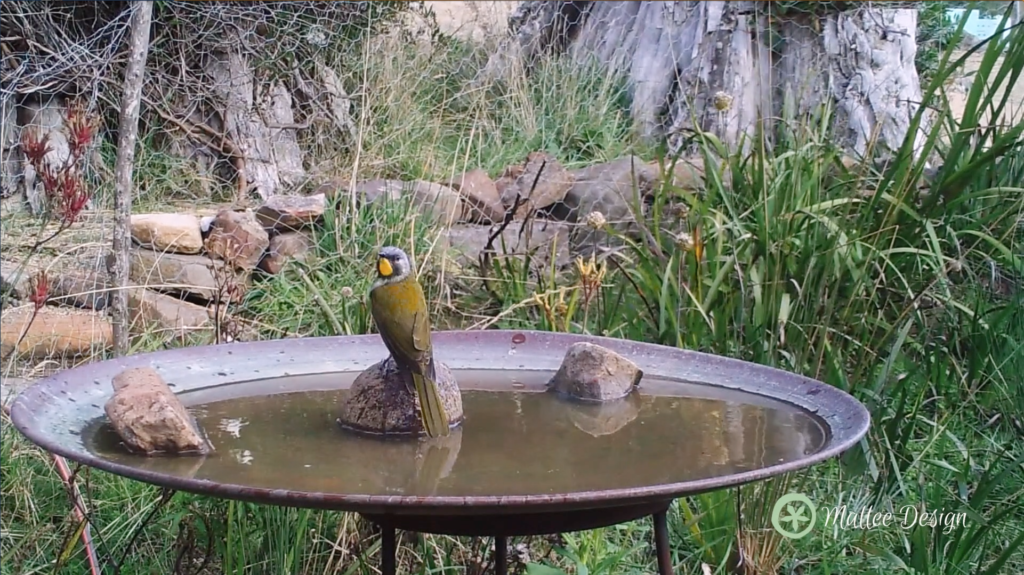
Recently, we’ve been using camera traps to capture videos of birds using our birdbaths. One of my favourites is the video of these wonderful silvereyes flocking around a dish in some coastal habitat below! Silvereyes migrate in large groups, feed and drink together and that’s why you can see so many together.
In this post I’ll explain the things we’ve learnt about how to use and set up a camera trap to get the best footage of birds in your area.
How Camera Traps Work
Most camera traps are triggered by a combination of motion and infrared heat sensors.
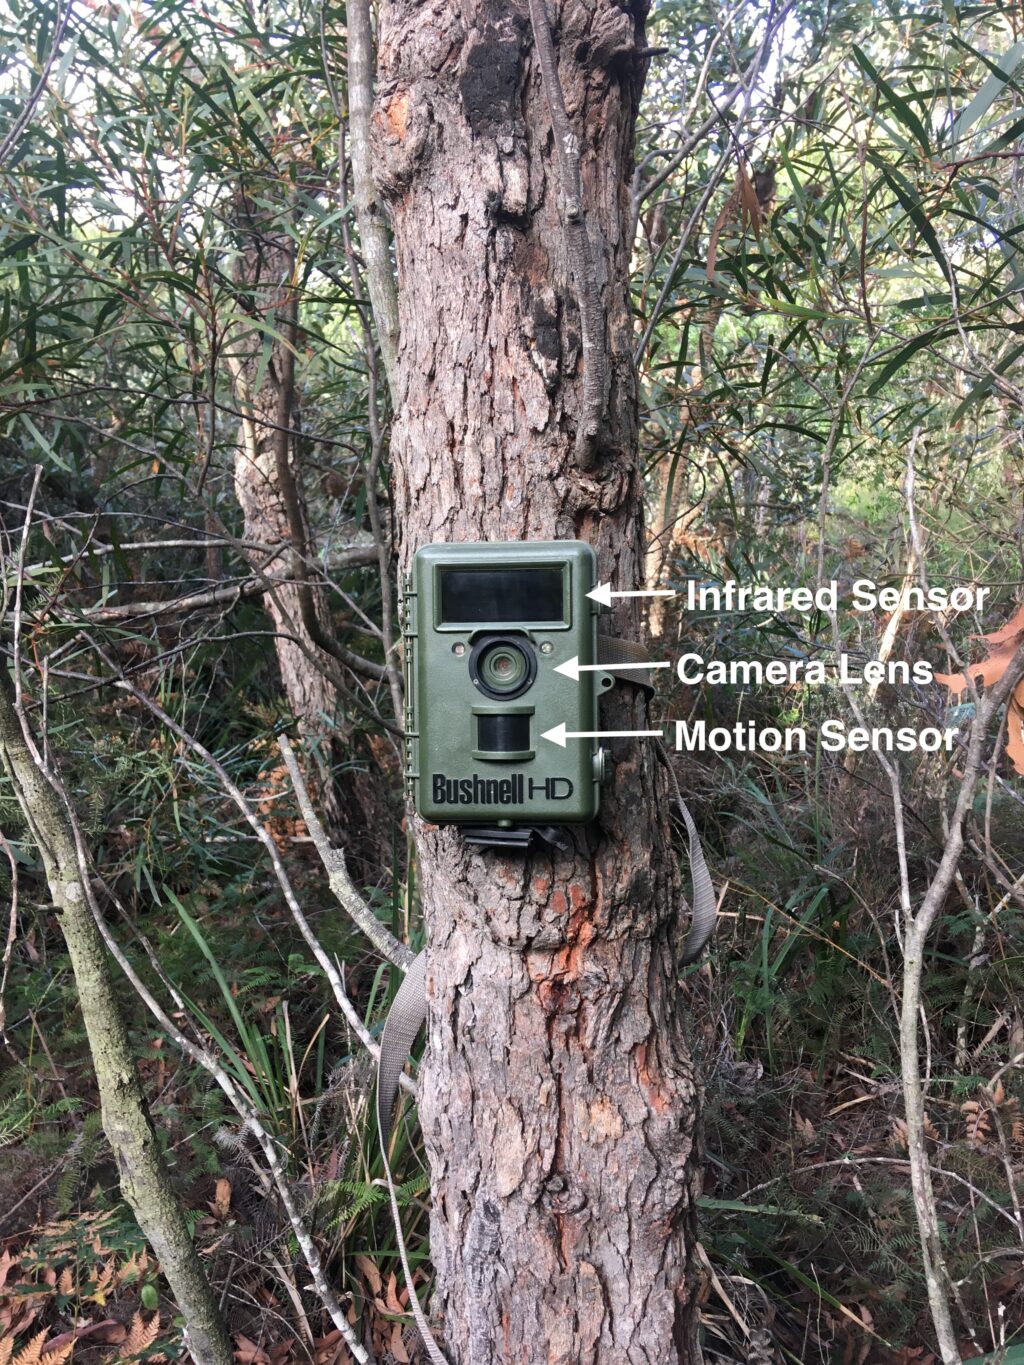
Motions sensors can detect movement of anything within their range so it’s important to make sure there’s not too much vegetation dancing around in the background. Moving branches like the ones in the video below can result in hundreds of empty clips and lack of space on your SD card. So beware of the wind!
Infrared sensors work by detecting heat signatures of animals that pass within the frame. They usually work well and only take empty clips on really hot days when the sensor picks up on hot objects in the environment such as rocks by mistake.
Choosing a Position
You’ll want to take into account the lighting, background, accessibility for birds and whether there are any objects in front of the sensors that might set it off at an inappropriate time.
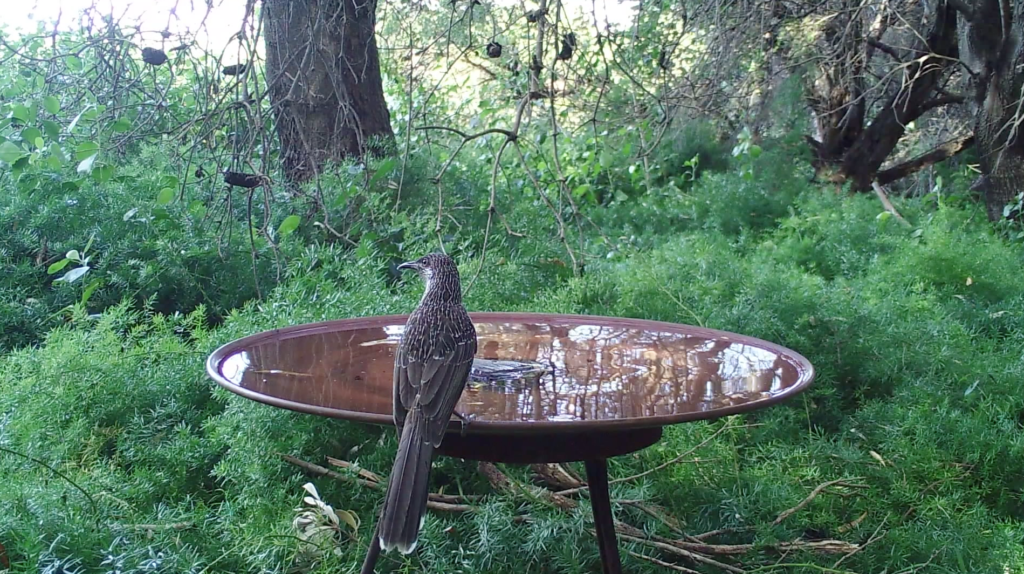
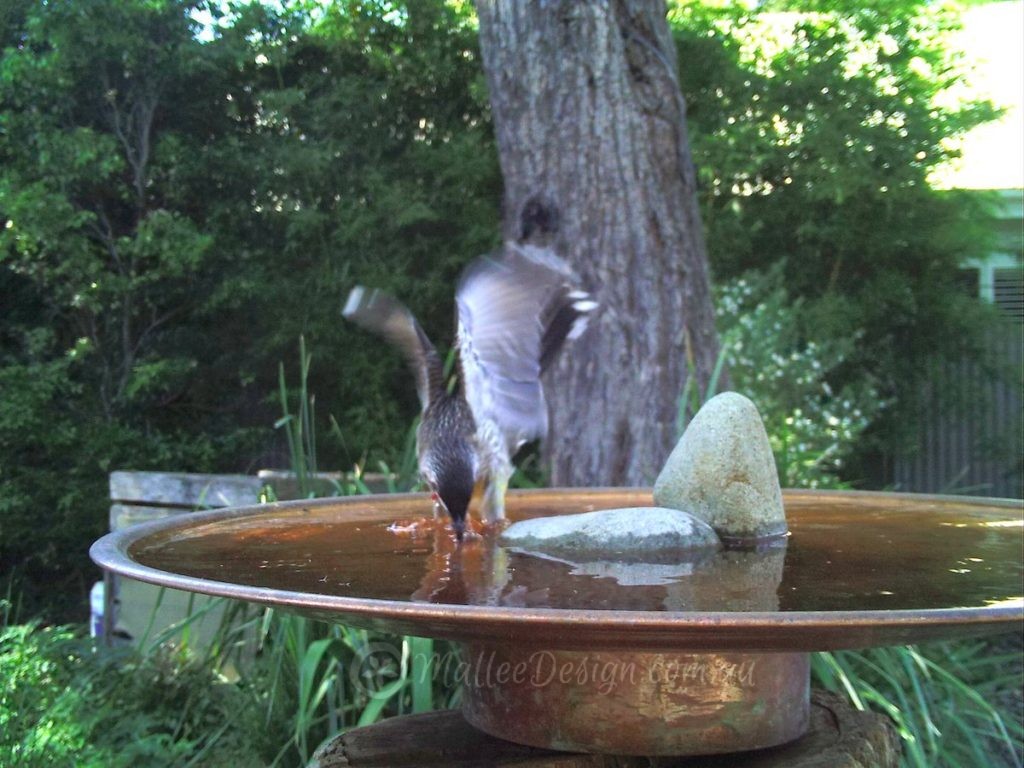
If possible, place the camera in a south-facing position so that it receives a mostly even amount of sunlight throughout the day. You’ll get images of beautifully lit up birds like this Little Wattlebird if the light is falling nicely from behind the camera lens.
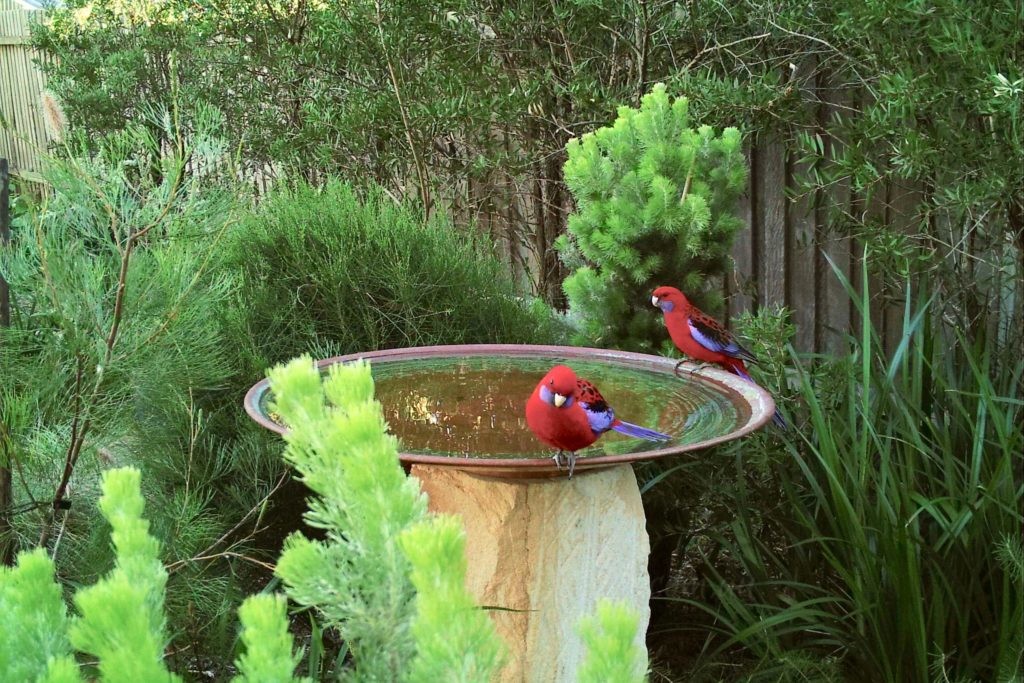
In the image you can also see that background is really important. Banksia branches dangle down from above and there was also thickets of tea tree just outside the frame for birds to leap from. If you want to attract native birds some native habitat in the background not only looks good, but provides shelter and access from which birds can jump into the picture.
Knowing your Birds
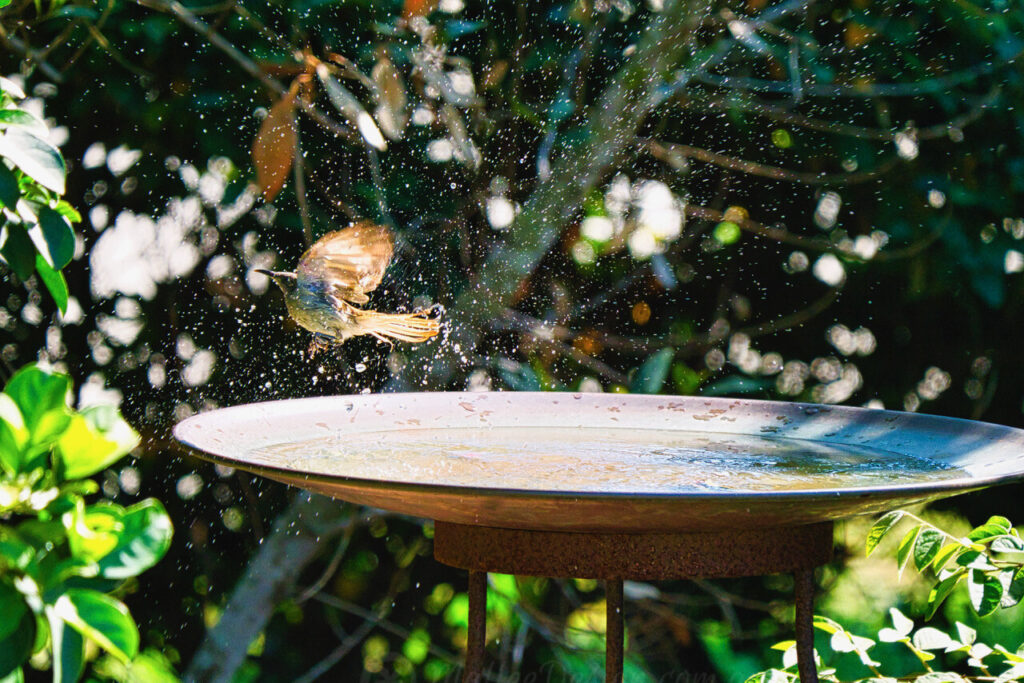
Habitat is essential! Birds need somewhere to land, feed and drink and will feel safer if there’s a lot of thick vegetation around to protect them from predators. This is especially true of small birds and not as big of a deal for large birds that tend to be a bit bolder. See this Lewin’s Honeyeater enjoying the serenity and shade of the cabbage palm, which is dense and protects the birdbath that it’s splashing around in.
The time of year it is will also determine what kind of birds you’ll be likely to see. For instance, Grey Fantails sometimes remain in the same area throughout the year and sometimes migrate.
Some birds travel south in Summer to breed and north or west in Winter for the warmer weather. They might also will travel up or down the mountains depending on the time of year (along an altitudinal gradient) for better weather or food resources. Birds tend to come down the mountains in autumn/winter seasons so take note of what birds you see or hear as your setting up.
The Grey Fantail in the video below visited a birdbath on the east coast of NSW in Autumn, perhaps having travelled down the nearby escarpment for different food resources.
For more info on specific bird distributions take a look at Birdlife Australia’s ‘Find a Bird‘ tool. Also be mindful of whether you’re in an urban or more natural environment. If you’re trialling a camera trap in the backyard the smell of cats can deter birds from particular areas or they might not be so likely to visit.
Important Settings
Mode – you can set your trap to camera, video or hybrid (which does both). Some settings on the camera are only relevant to one of the camera or video modes so check your camera trap manual if you’re confused.
Interval – this is the length of time the camera trap will wait before taking another photo/video if it has just shot one. You can often set the interval to between 1 second and 60 minutes so if you’re expecting to get a lot of empty shots in the environment you’ve chosen you might want to choose a longer interval.
Sensor Level – usually, you can choose to turn either the motion or infrared sensor on or off to avoid empty shots from waving vegetation or hot objects (see How Camera Traps Work), but most of the time it’s good to have them both on auto.
Format – the ‘execute’ setting under ‘Format’ wipes all existing memory on the SD card. Make sure you don’t accidentally press this before you upload your media to the home computer!
Models and Extra Equipment
We use and recommend Bushnell because is one of the easiest to use and takes good quality videos on models such as NatureView. More expensive models will usually take photos and videos that are slightly better quality (more megapixels, more sophisticated sensors, etc.), but you can still get nice footage of birds with the cheaper ones.
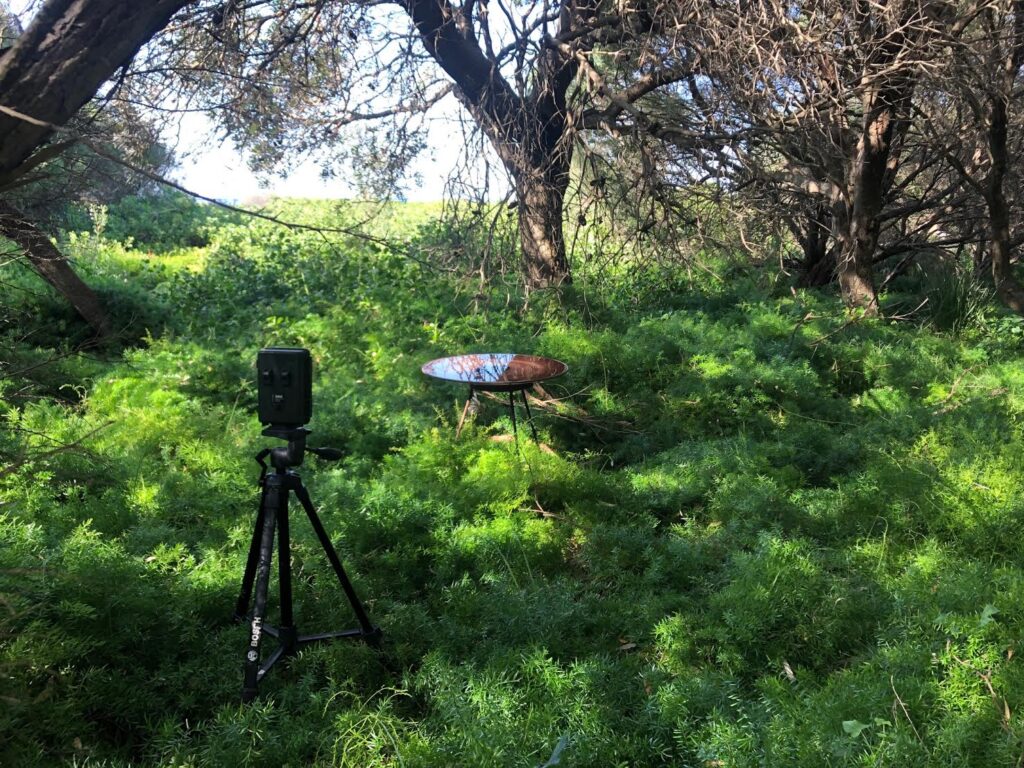
Tripods (like the one above) are probably the most useful piece of equipment to compliment camera trapping. All camera traps can be fitted to a tripod and this means you can stabilise and set-up your camera in pretty much any space.
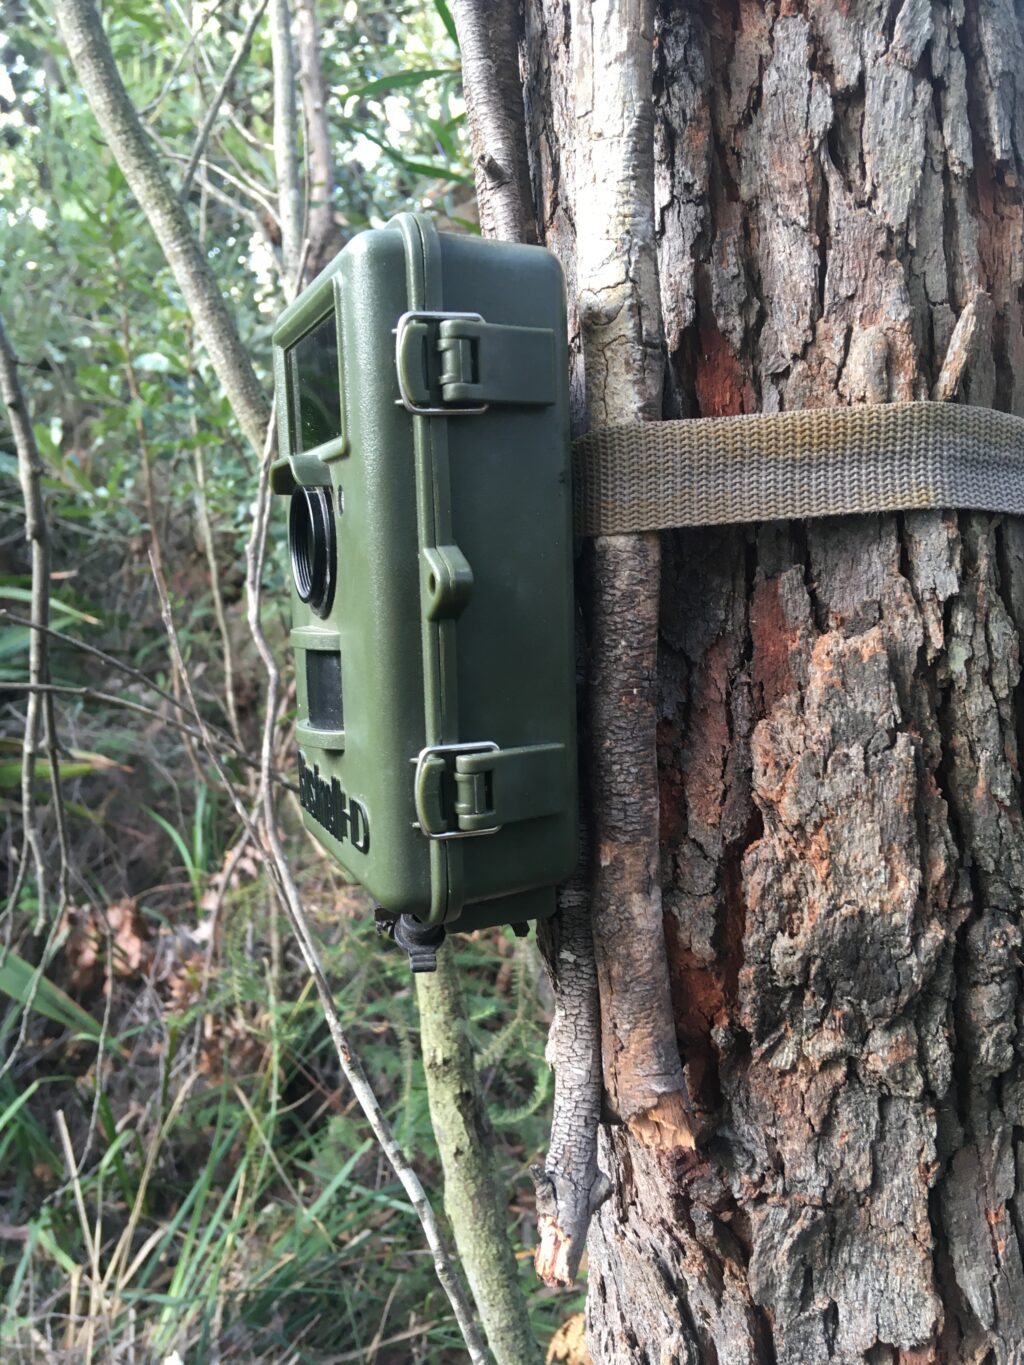
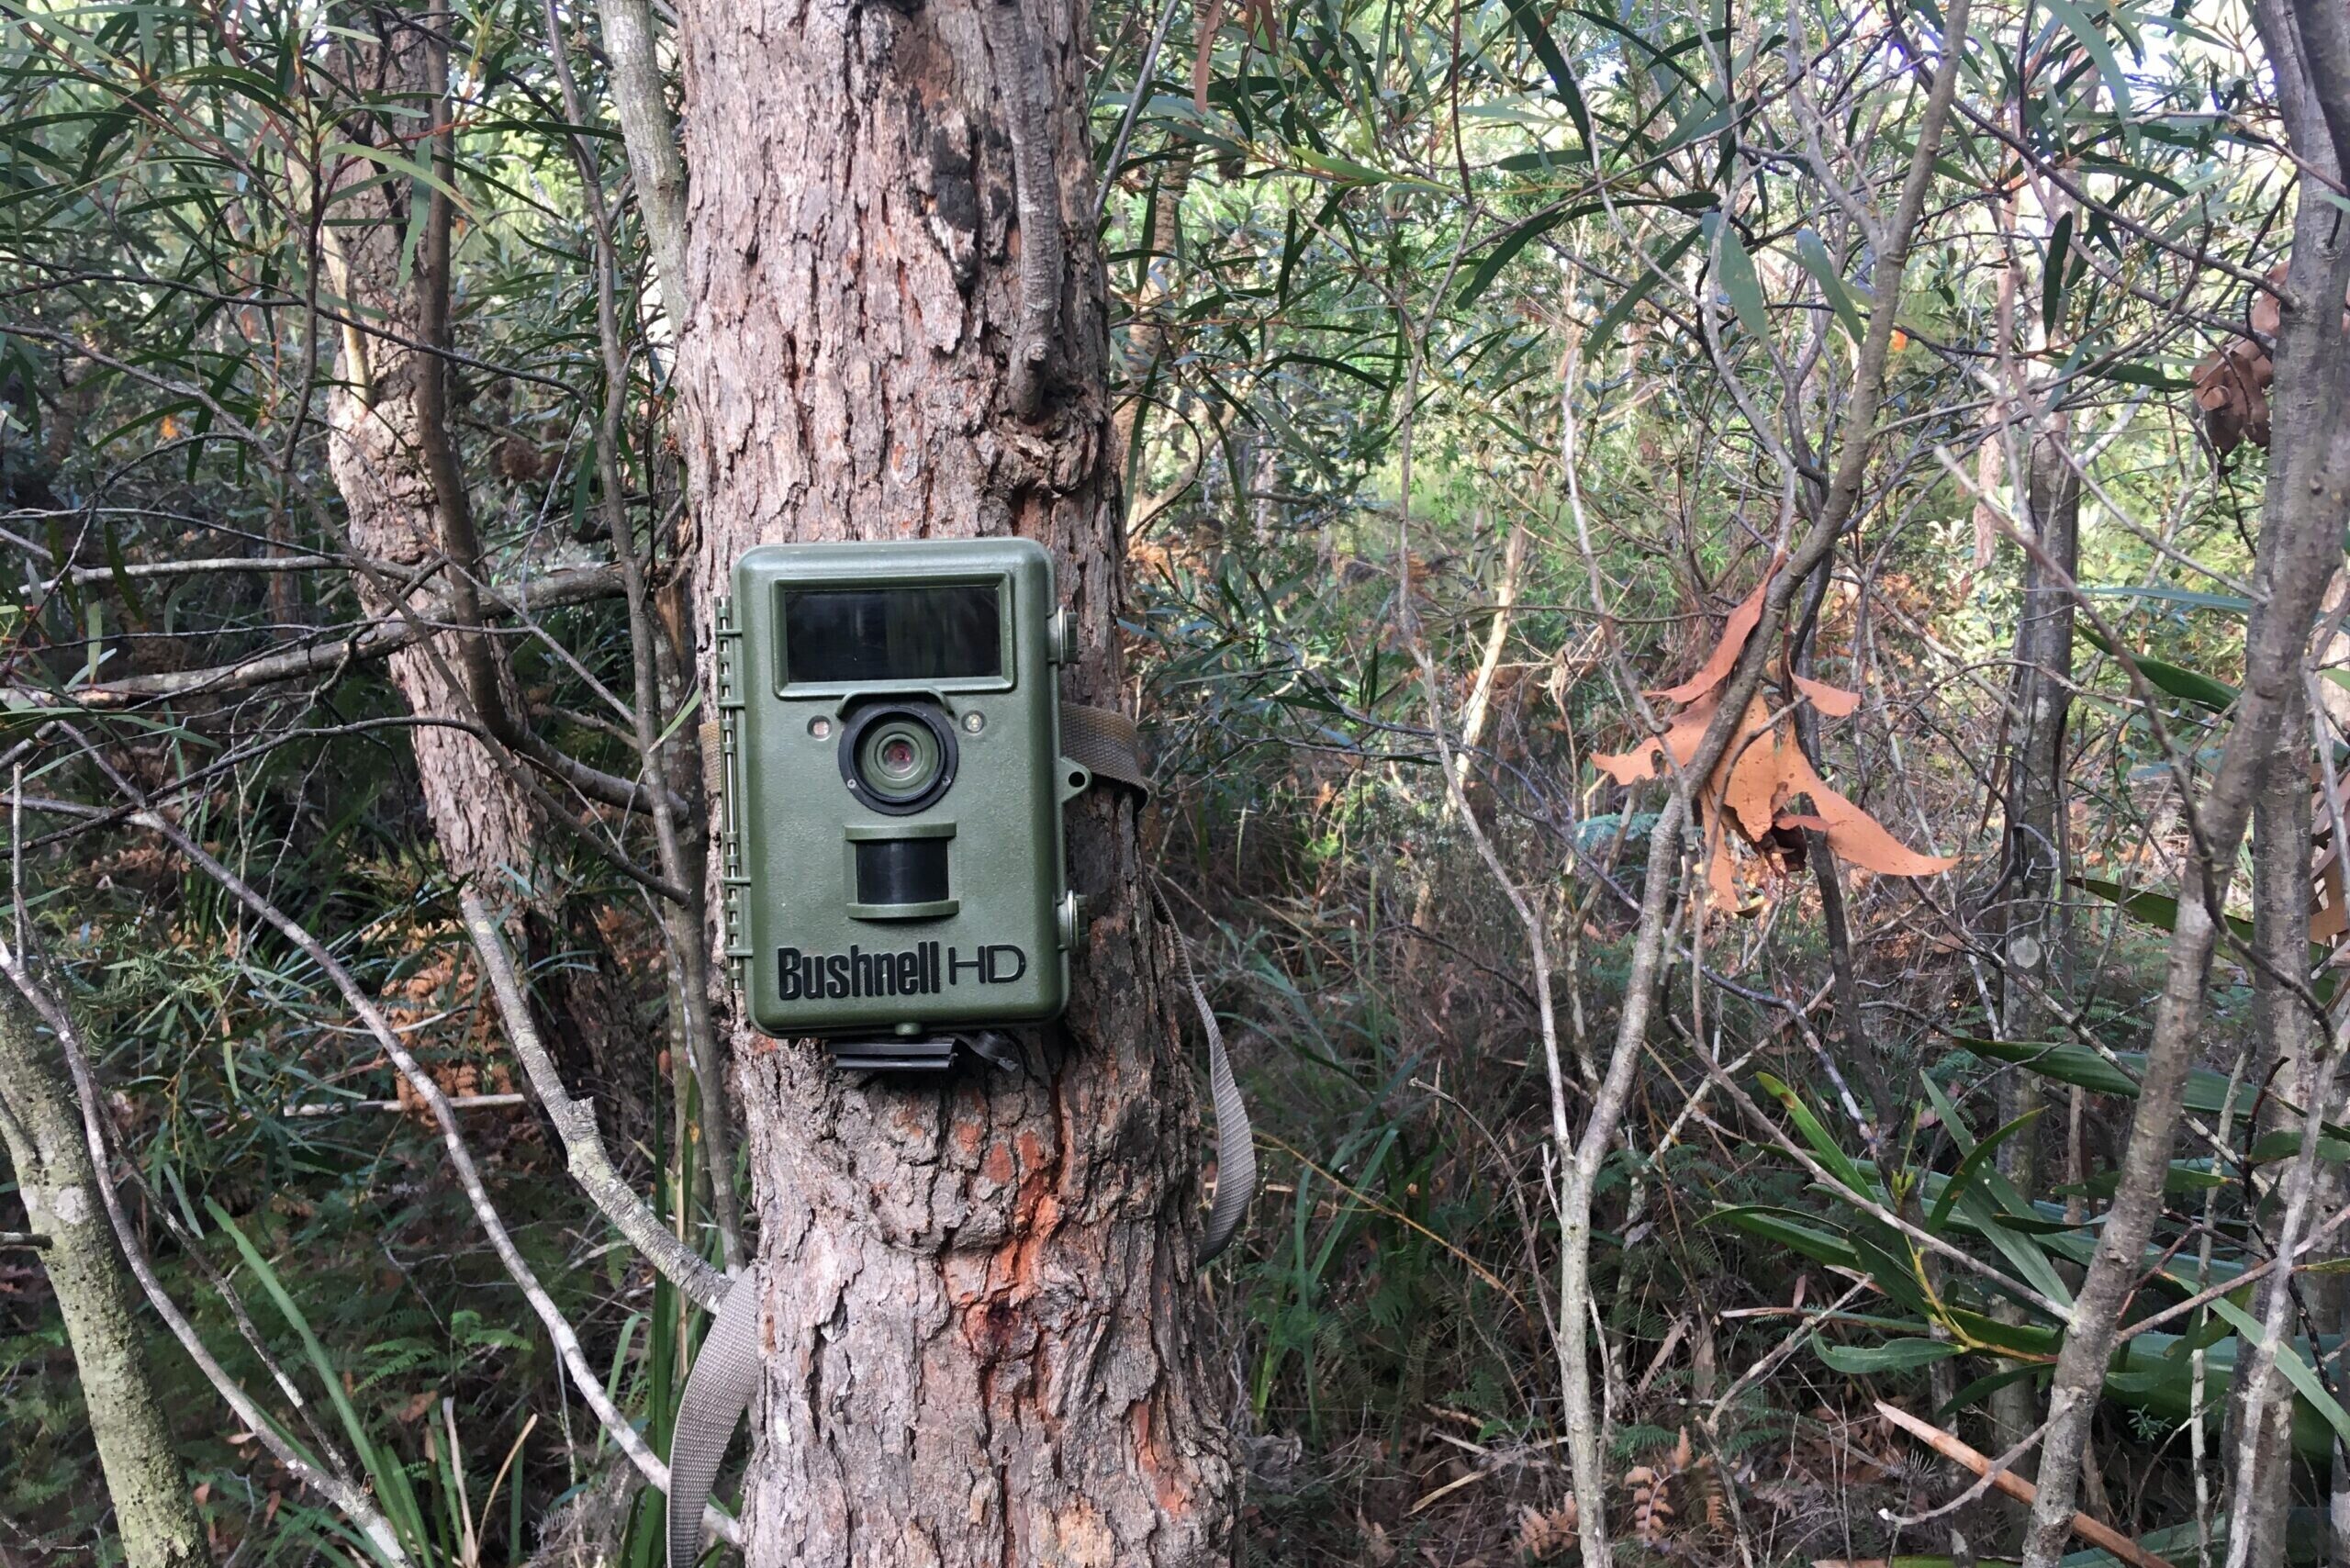
If you don’t have a tripod the only way to mount your camera trap is around a tree using belts, which come with traps when you buy them (see below). If you’re using this method it’s a good idea to place some sticks between the camera trap and the tree. Trees rarely have a smooth vertical bark surfaces conducive to the shape of a camera trap!
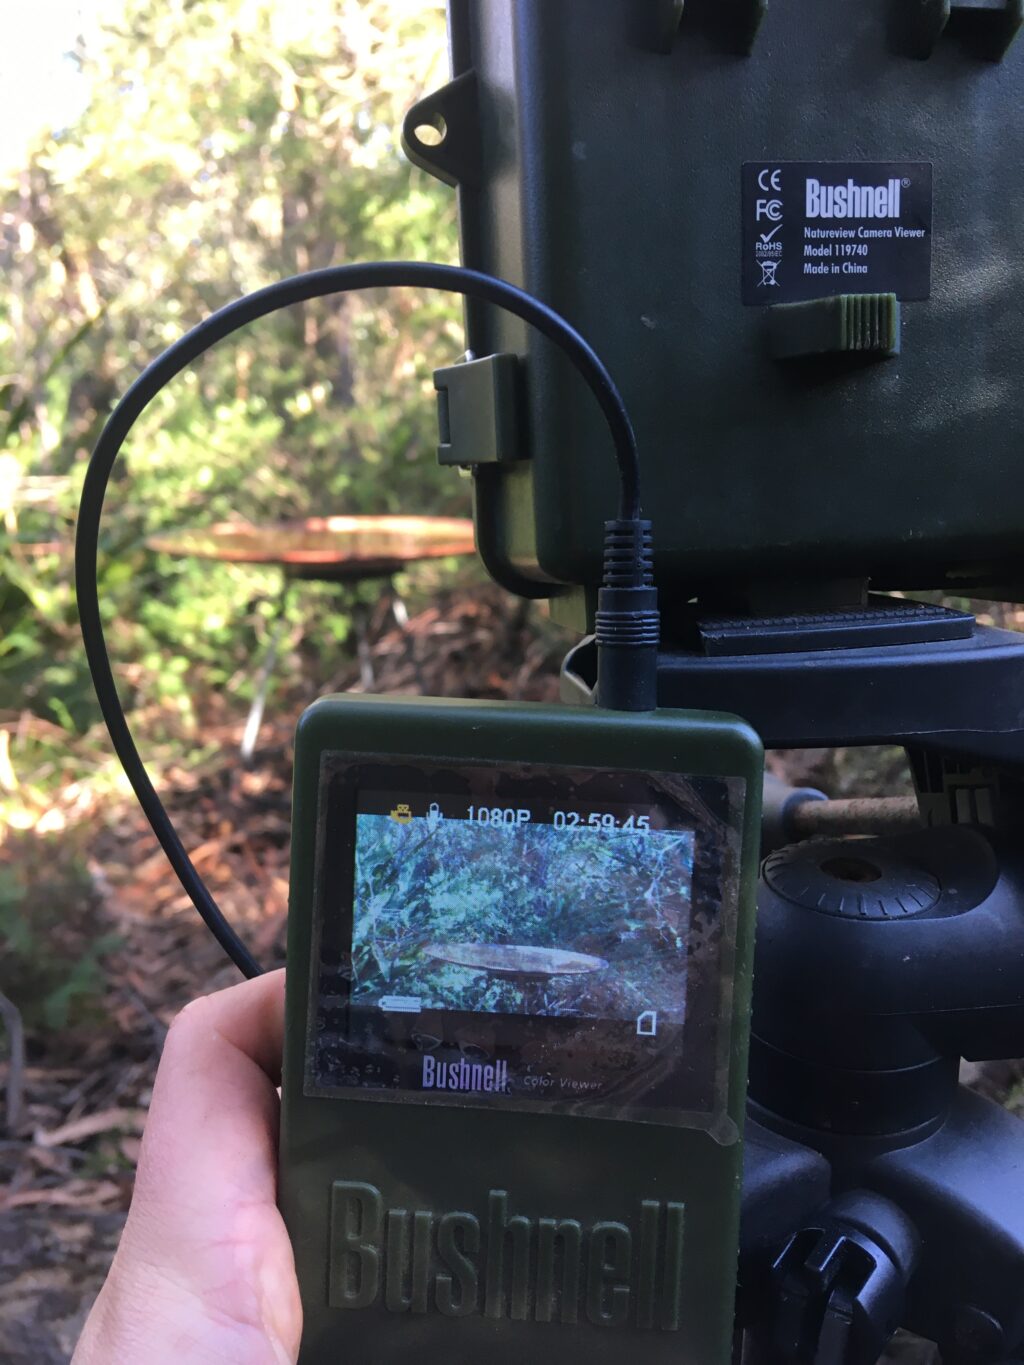
Another item you might want to consider is a viewer attachment (see below) that allows you to see exactly what your frame looks like when you set-up. Models that are compatible with viewers often come with one when purchased. Otherwise find them on eBay. Some of the newer (and usually more expensive) camera traps have an external viewer already built into them, which serves the same function.
Finally, if you want some really detailed info on how camera traps work and how best to set them up check out this resource: https://onlinelibrary.wiley.com/doi/pdf/10.1111/aje.12563
Happy trapping!
The Mallee Team

Leave a Reply